
Last updated November 22, 2026
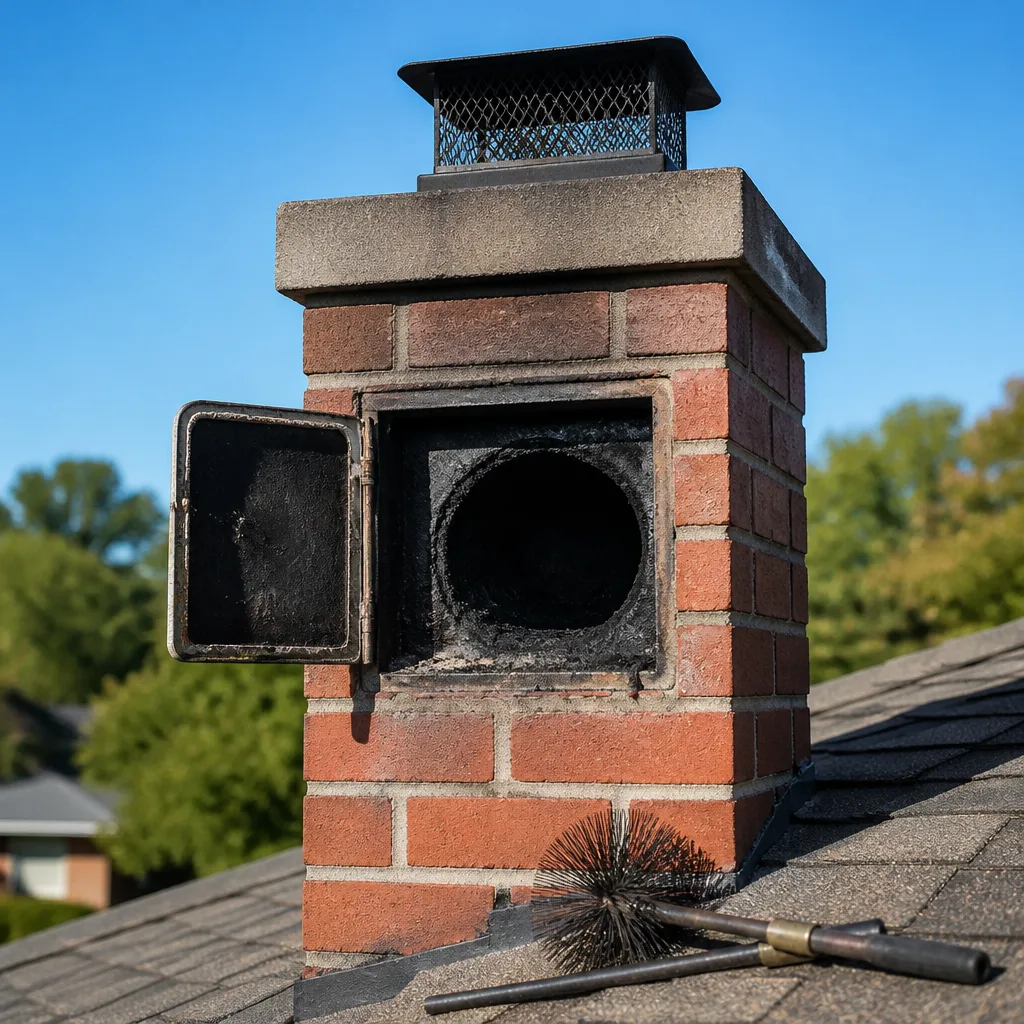 Sweep & inspection
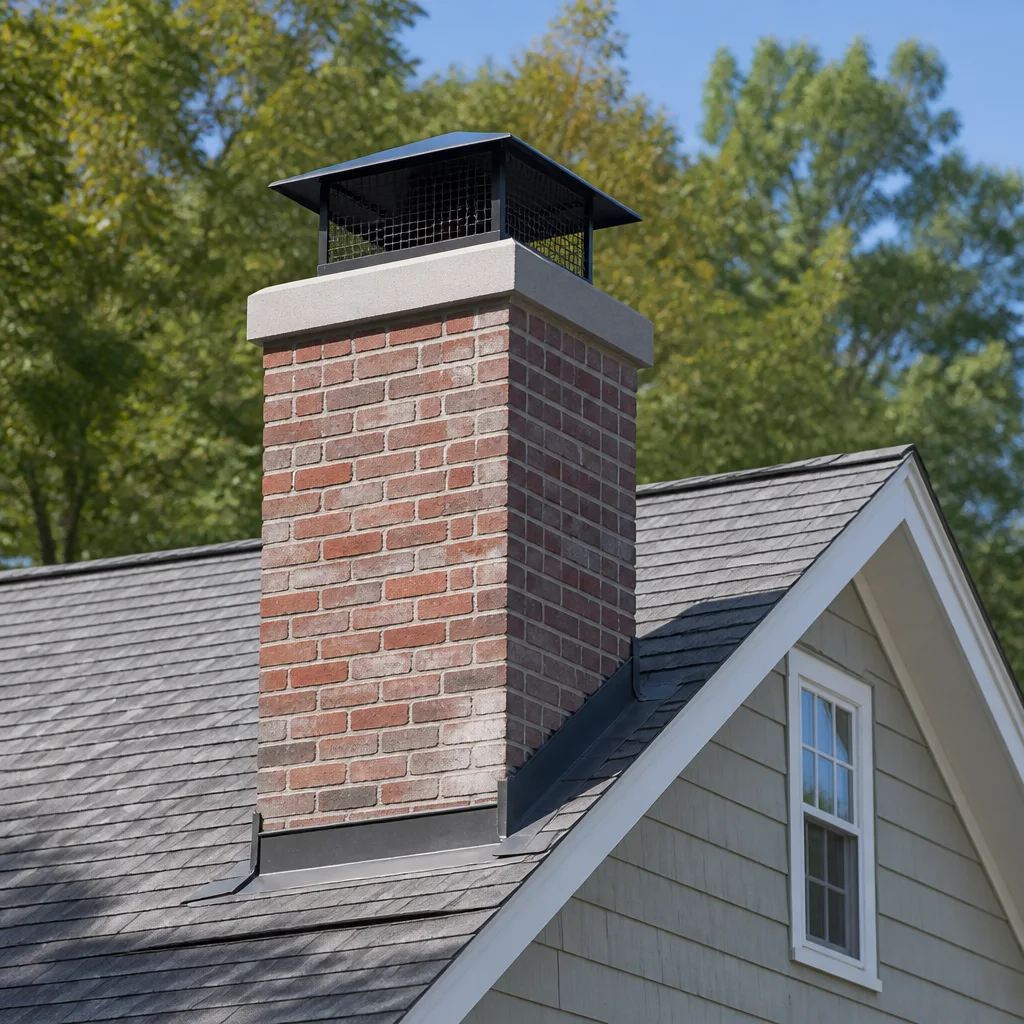 Caps & crowns
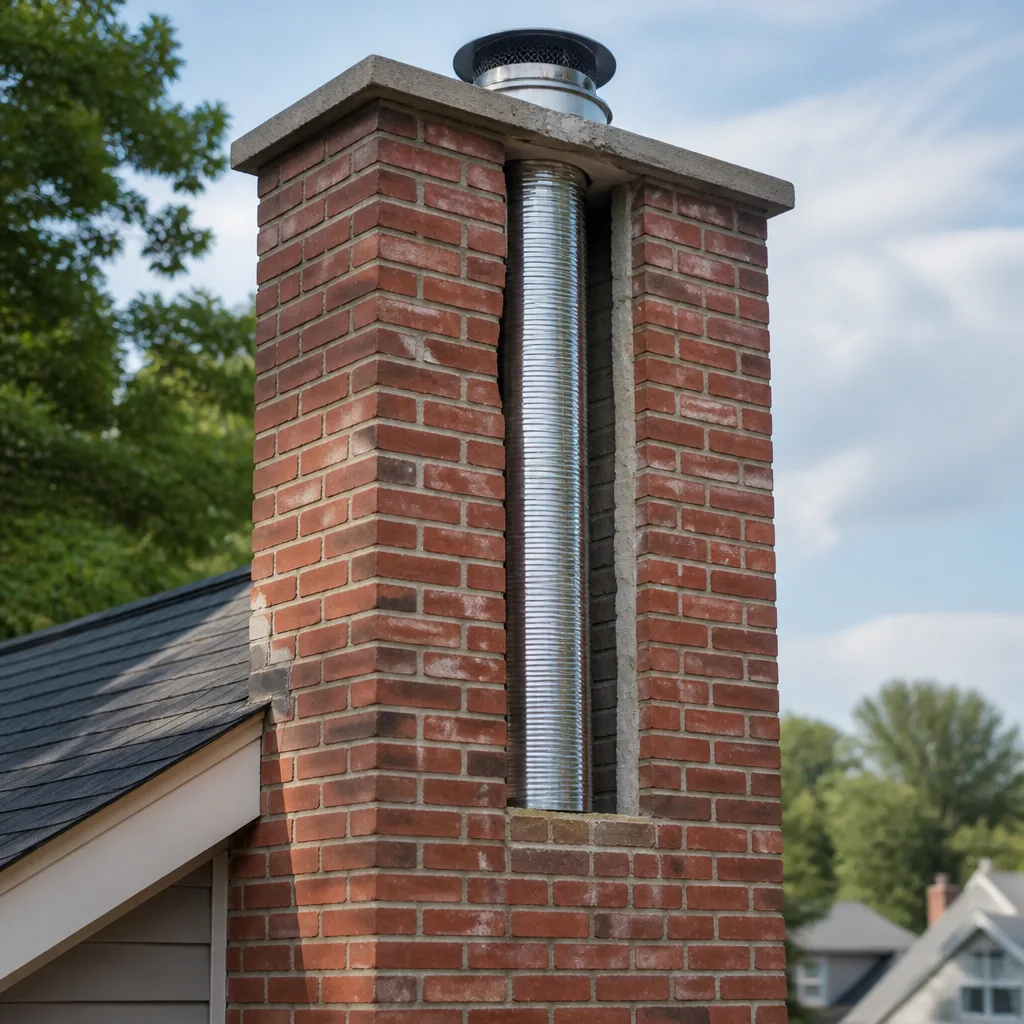 Flue relining
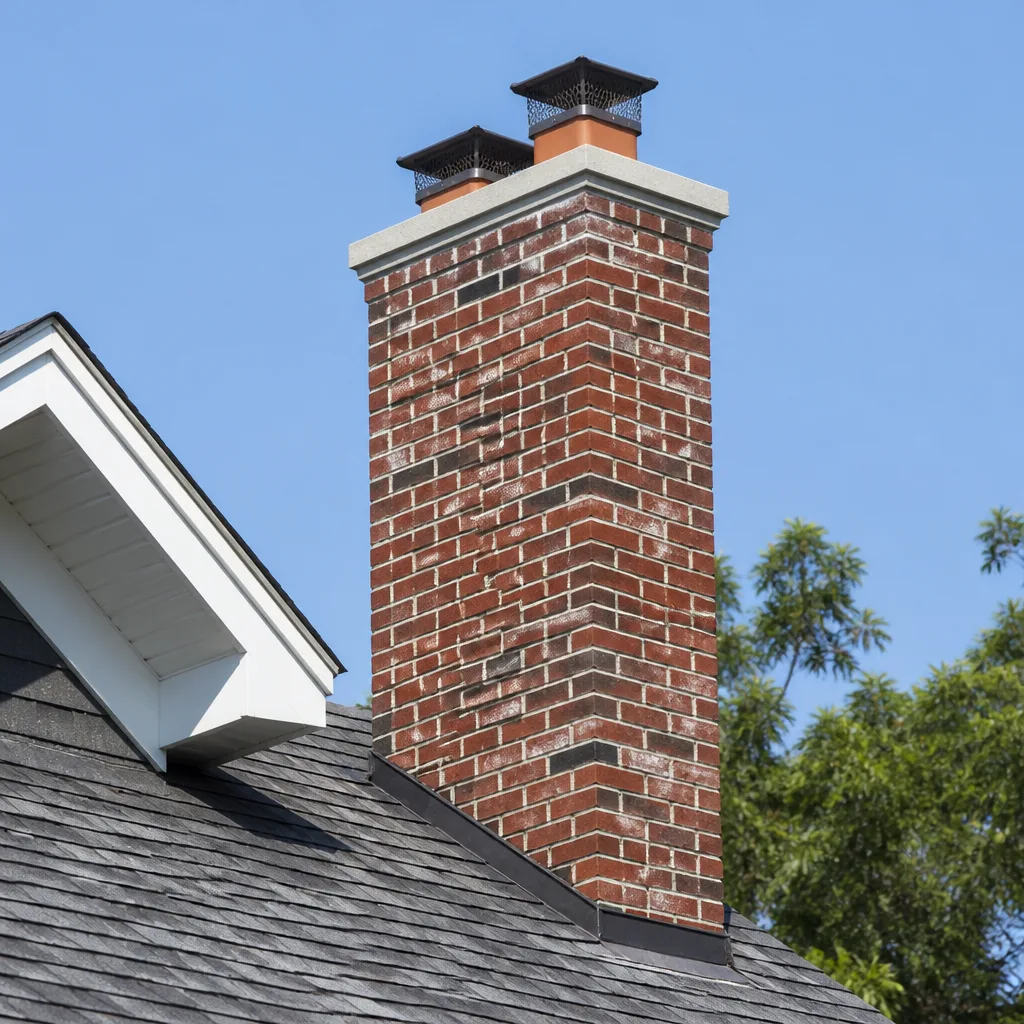 Masonry repair
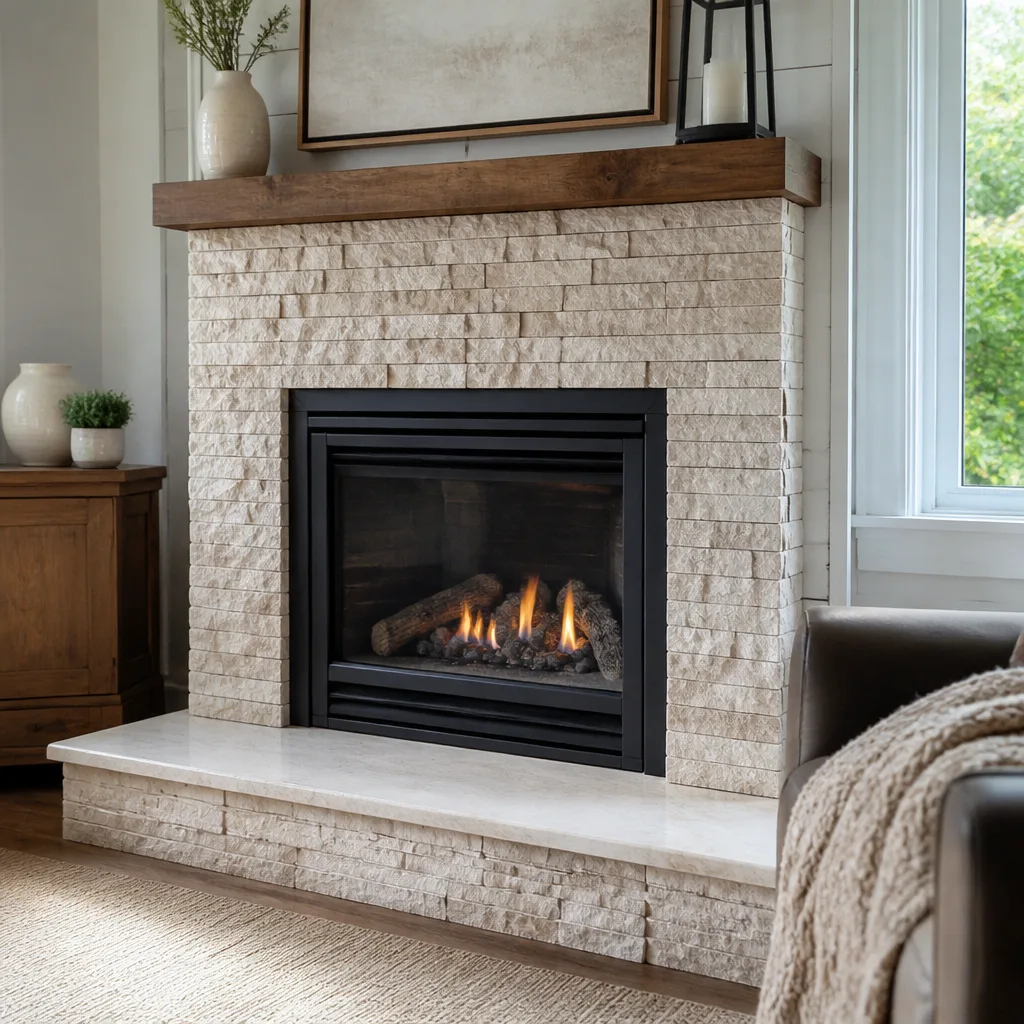 Gas fireplace service
Level 1 sweep and inspection to the NFPA 211 annual standard - flue, crown, cap, and flashing checked and photographed
Chimney sweep logs do not sweep chimneys. They loosen some creosote - which then falls where a brush and vacuum still have to collect it.
Chimney Sweep Maintenance Checklist for University City Homeowners
Most chimney advice on the internet stops at “check your damper.” That single instruction hides the important part. In older University City homes, a warped or seized damper plate is the most common reason smoke rolls into a living room instead of climbing the flue – and knowing that changes how you look at the whole system. A checklist is only worth the paper it’s printed on when each task tells you what failure looks like if you skip it. This guide walks through chimney maintenance by season, ties every task to the damage it prevents, and shows you how to track what you find so nothing gets lost between years.
Quick Answer
A chimney in University City should be swept and inspected once a year, with a pre-season check in September, a mid-season look in January, and masonry repairs handled in spring before summer humidity works into cracks. The single most-skipped task is inspecting the cap and spark arrestor, which is also where animal intrusion and water damage usually start. If you haven’t had the system looked at since last fall, book a sweep and a Level II inspection before the heating season begins.
Key Takeaways:
- September is for inspection, not just cleaning – check the damper, crown, flashing, and liner before the first fire.
- January is where creosote buildup is measurable: 1/8 inch of glazed buildup means stop burning and book a sweep.
- Spring repairs beat summer moisture. Cracks that are cosmetic in March have a way of widening by July.
- The cap and spark arrestor do the quiet work of keeping animals, rain, and debris out of the flue.
- Photograph everything each year. Slow deterioration is invisible without a baseline to compare against.
Styles & brands we work with
- Sweep & inspection
- Caps & crowns
- Flue relining
- Masonry repair
- Gas fireplace service
Table of Contents
- Why a Cause-and-Effect Checklist Beats a Generic One
- Pre-Season Checklist (September): The Full-System Walkthrough
- Mid-Season Check (January): Reading Creosote Buildup
- Post-Season Tasks (March): Fix Masonry Before Summer Moisture
- The Task Everyone Skips: Cap and Spark Arrestor Inspection
- How to Document Your Findings With Photos
- Sweeping Versus Inspection: Why You Usually Need Both
- When to Call a Professional
Why a Cause-and-Effect Checklist Beats a Generic One
A checklist that only names tasks gives you no way to judge what you’re looking at. “Inspect the crown” means nothing unless you know that a hairline crack across the crown lets meltwater into the masonry below, and that in University City the freeze-and-thaw swings of a Carolina winter turn that hairline into a real fracture over a season or two. That cause-and-effect framing is what separates a useful maintenance routine from a box-checking exercise.
Chimney systems fail slowly and quietly. A damper rusts shut. A crown cracks. A liner develops a gap at a seam. None of it announces itself. The symptom shows up later – smoke in the room, a stain on the ceiling, a draft that wasn’t there before – by which point the repair is bigger than it needed to be. When you know what each component does and how it fails, you catch the small problem while it’s still small.
University City homes span a lot of building eras, and that matters here. Older houses with masonry fireplaces and offset flues have different maintenance profiles than newer construction with factory-built units. An offset flue, where the chimney bends to clear a structural element, collects creosote differently than a straight stack and can be harder to brush clean without the right tools. Knowing which kind of system you have is step one. If you’re not sure, a professional inspection tells you, along with everything else the system is doing. From the firebox floor to the chimney crown, we service the entire system so the diagnosis and the fix come from the same place.
Pre-Season Checklist (September): The Full-System Walkthrough
September is the right month for a full once-over because it gives you time to schedule repairs before the first cold snap, when everyone else is calling at once. This is the deepest check of the year. Work top to bottom, and pay attention to what each failure looks like, because that’s what you’re hunting for.
1. The Damper
Open and close the damper by hand. It should move smoothly and sit flat when closed. Failure indicator: a warped plate, a plate that won’t seat, or one that sticks partway. A damper that doesn’t seal lets heated room air escape up the flue all winter, and a warped plate is the usual culprit behind smoke spilling into the room instead of rising. If yours won’t move freely, that’s a repair, not a cleaning issue.
2. The Crown
The crown is the concrete cap at the very top of the chimney that sheds water away from the masonry. Look for cracks, spalling (flaking), or a crown that’s pulling away from the flue. Failure indicator: any crack wider than a hairline, or a crown that no longer slopes. Water gets in through a failed crown and works down through the brick, and that’s where the expensive structural problems start. Chimney crown work is preventive engineering – it protects the investment you’ve already made in the fireplace.
3. The Flashing
Flashing is the metal seal where the chimney meets the roof. Check it for lifted edges, rust, or gaps. Failure indicator: flashing that’s pulled away or has missing sealant. This is a leading cause of roof leaks that get misdiagnosed as roof problems. If you see a water stain on the ceiling near the chimney, suspect the flashing before the shingles.
4. The Liner
The liner carries exhaust up and out. From the ground you can only see the top of it, but a visual check of the flue interior on the way down tells you more. Failure indicator: cracks, gaps at seams, or a liner that’s flaking or separated. A compromised liner is a fire and carbon monoxide concern, not a cosmetic one. This is the check that most justifies a professional camera inspection, because you can’t see inside an offset flue without one. If the liner turns out to be the problem, options range from HeatShield ceramic resurfacing to a full DuraFlex stainless reline, chosen by what the camera actually shows.
5. The Firebox
Look at the firebox walls and floor for cracks, loose mortar, or gaps between the firebrick. Failure indicator: cracks that let heat reach the structure behind the brick. Firebox repairs belong in the specialist’s hands, and we handle that as part of fireplace repair rather than sending you to a separate mason.
Mid-Season Check (January): Reading Creosote Buildup
By mid-winter you’ve been burning for a couple of months, and that’s exactly when creosote accumulation becomes measurable. Creosote is the tar-like byproduct of incomplete combustion, and how much has built up determines whether you keep burning or stop and book a chimney sweep. The benchmark that matters is thickness, and it’s one you can gauge with a simple look up the flue from the firebox with a flashlight.
- Under 1/8 inch, sooty and dry: normal. Keep burning and monitor at your next check.
- 1/8 inch or more: cleaning is due. This is the threshold that triggers a sweep.
- Glazed, shiny, or tar-like: this is the dangerous grade. Stop burning and get it swept before the next fire. Glazed creosote ignites at lower temperatures than the sooty kind, and it’s the fuel behind chimney fires.
University City’s burn season runs long enough that a mid-season check is worth the effort. Many homeowners burn hardwood that’s not fully seasoned, and unseasoned wood produces more creosote per fire than dry wood does. If you notice the glass on a stove door clouding faster than usual, or a stronger smell when the fire dies down, those are hints that buildup is ahead of schedule and the 1/8-inch threshold may arrive early.
Carbon monoxide is the other reason this check matters. A blocked or partially blocked flue pushes exhaust back into the house. If you don’t already have a carbon monoxide alarm on each level of your home, this is the season to confirm you do. That’s not a sales pitch – it’s the basic safety layer that every chimney owner should have regardless of who services the system.
Post-Season Tasks (March): Fix Masonry Before Summer Moisture
Spring is the right time to address masonry repair, and the reason is moisture. Once the burning season ends, any crack in the brick, mortar joints, or crown becomes a channel for summer rain and humidity. Water that gets into masonry doesn’t dry quickly, and in University City’s humid summers it has weeks to sit and do damage – freeze cycles aside, the constant damp alone degrades mortar and spalls brick faces. Fix the crack in March and it never gets that chance.
- Walk the exterior in daylight. Look for cracked or missing mortar joints, spalling brick faces, and white staining (efflorescence) that signals water moving through the masonry.
- Re-check the crown and flashing. Anything you noted in September that hasn’t been repaired should be scheduled now, before the wet season.
- Confirm the cap is seated. A cap that shifted over the winter leaves the flue open to rain.
- Book the repair, don’t defer it. Small masonry repairs handled in spring cost far less than structural work after a summer of water intrusion.
Spring is also when we see the results of deferred repairs most clearly – cracks that were hairline in fall have opened up. If your March walk turns up anything beyond cosmetic, a Level II inspection gives you the full picture before summer. Our technicians have up to 8 years of experience assessing exactly this kind of seasonal wear, and the recommendation is always tied to what the inspection actually shows.
The Task Everyone Skips: Cap and Spark Arrestor Inspection
Of everything on this list, the cap and spark arrestor is the component homeowners most often ignore, and it’s the one doing the quietest, most important work. The cap keeps rain, snow, and debris out of the flue. The spark arrestor – the mesh screen – keeps hot embers from escaping onto the roof and keeps animals from getting in. When either fails, the consequences are specific and unpleasant.
What failure looks like
- Animal intrusion: birds, squirrels, and raccoons treat an open flue as a chimney. A nest blocks the flue, and a blocked flue means smoke and carbon monoxide come back into the house. The smell of a nest is hard to mistake once you’ve encountered it.
- Moisture damage: a missing or loose cap lets rain run straight down the flue, soaking the liner and the masonry from the inside – damage you can’t see until it’s advanced.
- Rust and corrosion: a cap that’s rusted through no longer sheds water and eventually fails at the seam where it meets the crown.
- Spark escape: a torn arrestor screen lets embers out onto a roof or into dry debris, which is a fire risk in dry weather.
Check the cap from the ground with binoculars if you can, or have it checked as part of the annual inspection. The fix is usually straightforward – a new cap and a sound arrestor – and doing it as routine chimney cap & crown work is far cheaper than repairing what an open flue allows in. We treat cap work as preventive engineering, not an upsell. It protects the system you already have.
How to Document Your Findings With Photos
Chimney deterioration is slow, and slow change is invisible unless you have something to compare against. That’s why the single best habit you can build is photographing the same components from the same angles every year. A crack that looks “about the same” in person can be measurably wider in a photo taken twelve months apart.
- Shoot the crown from the ground with a zoom or from a safe vantage. Note the date and angle.
- Photograph the flashing where it meets the roof on the same side each year.
- Take a firebox photo straight on, so wall cracks are comparable.
- Capture the cap and arrestor with binoculars or a phone zoom.
- Keep a simple log – date, what you saw, what you did. A note like “crown crack at east edge, unchanged” is enough.
When a professional inspects the system, ask for photos of anything they flag. A camera inspection and a photo report should be standard, not an add-on, because you should be able to see what they saw. The point isn’t to second-guess a specialist – it’s to build a year-over-year record that catches slow deterioration before it becomes structural. When we find something, we show you what it is and give you a straight answer on whether it needs fixing now or can safely wait.
Sweeping Versus Inspection: Why You Usually Need Both
A chimney sweep is the first step – a chimney inspection tells you what actually needs attention. Sweeping removes creosote and debris. Inspection evaluates the condition of the whole system: liner, crown, flashing, firebox, damper. One cleans; the other diagnoses. Scheduling both together is what makes the annual service worth doing, because a sweep alone can leave you with a clean flue and an unaddressed crack in the crown.
The industry standard for inspections is what’s called a Level II inspection, which uses a camera to see inside the flue – essential for offset flues and for confirming liner condition that a visual check can’t reach. A Level I inspection is the basic visual check that comes with a routine sweep. If it’s been a while, or if the house is new to you, a Level II is the honest starting point.
This is also where the full-system approach matters. If the inspection turns up a liner issue, you want a company that can both diagnose and resolve it – HeatShield ceramic resurfacing for a liner that can be restored, or a DuraFlex flexible stainless reline for an older or offset flue that needs a new one. A sweep-only service can clean the flue and then hand you a referral; you’re back to scheduling a second contractor. In University City, we’d rather keep it in one place: diagnostics through repair completion, one call.
Common Mistakes to Avoid
- Checking the damper but not testing it under fire. A damper can seem fine when you move it cold and then fail to seal once the fire is lit. Test it before the season starts, not during your first fire.
- Cleaning the flue but ignoring the crown. A spotless flue with a cracked crown still lets water into the masonry. The crown is where the water damage begins, and it’s the part most often skipped.
- Waiting for spring to book the sweep. By the time University City homeowners call in spring, the fall schedule is behind them. Book the pre-season sweep and inspection while there’s still room.
- Assuming a clean flue means a sound liner. Creosote and liner condition are separate questions. Only a camera inspection answers the liner question.
- Deferring small masonry cracks. A hairline crack in fall is a structural repair after a humid summer. Spring is the time to act.
- Skipping the cap check because “it looks fine from here.” The cap is the one component whose failure is invisible from the ground. Have it checked every year.
- Burning unseasoned wood to stretch the supply. Wet wood produces more creosote per fire, which pushes your buildup past the 1/8-inch threshold faster than dry wood does.
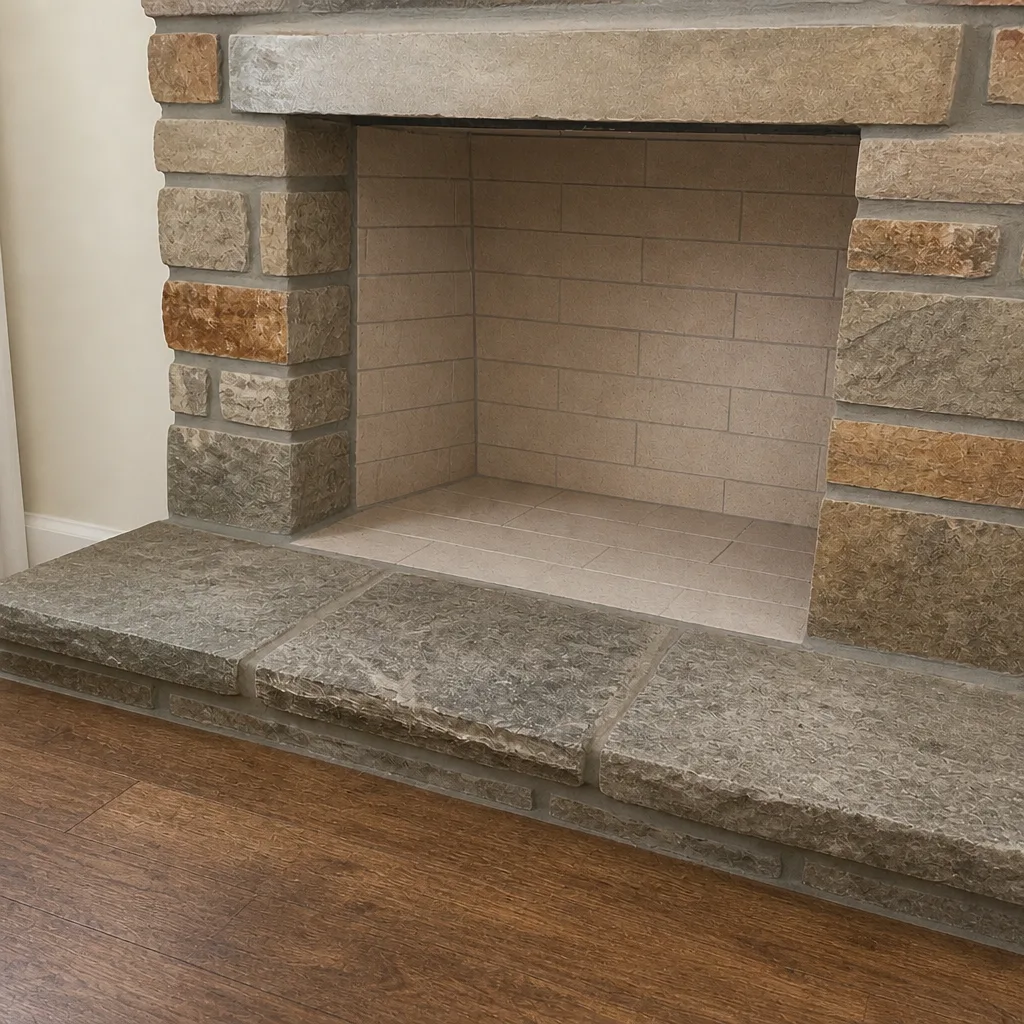
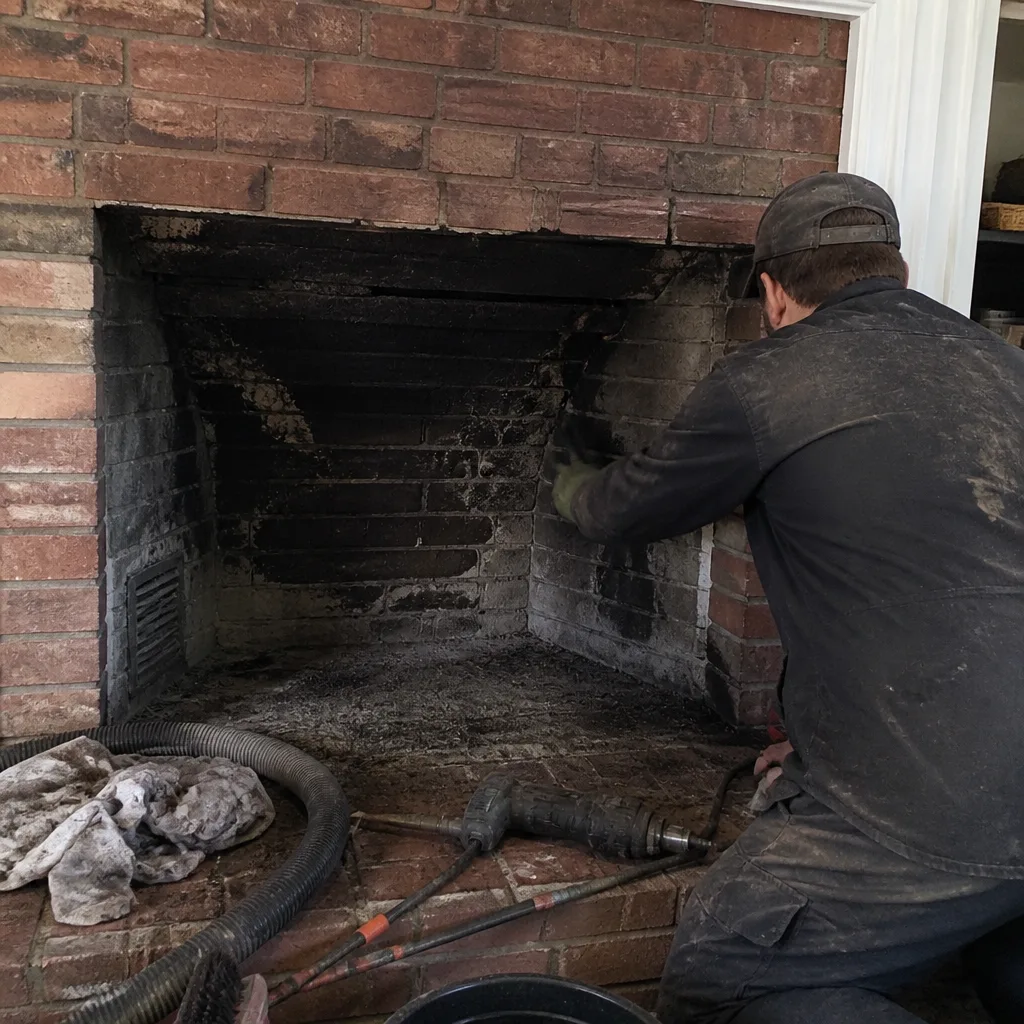
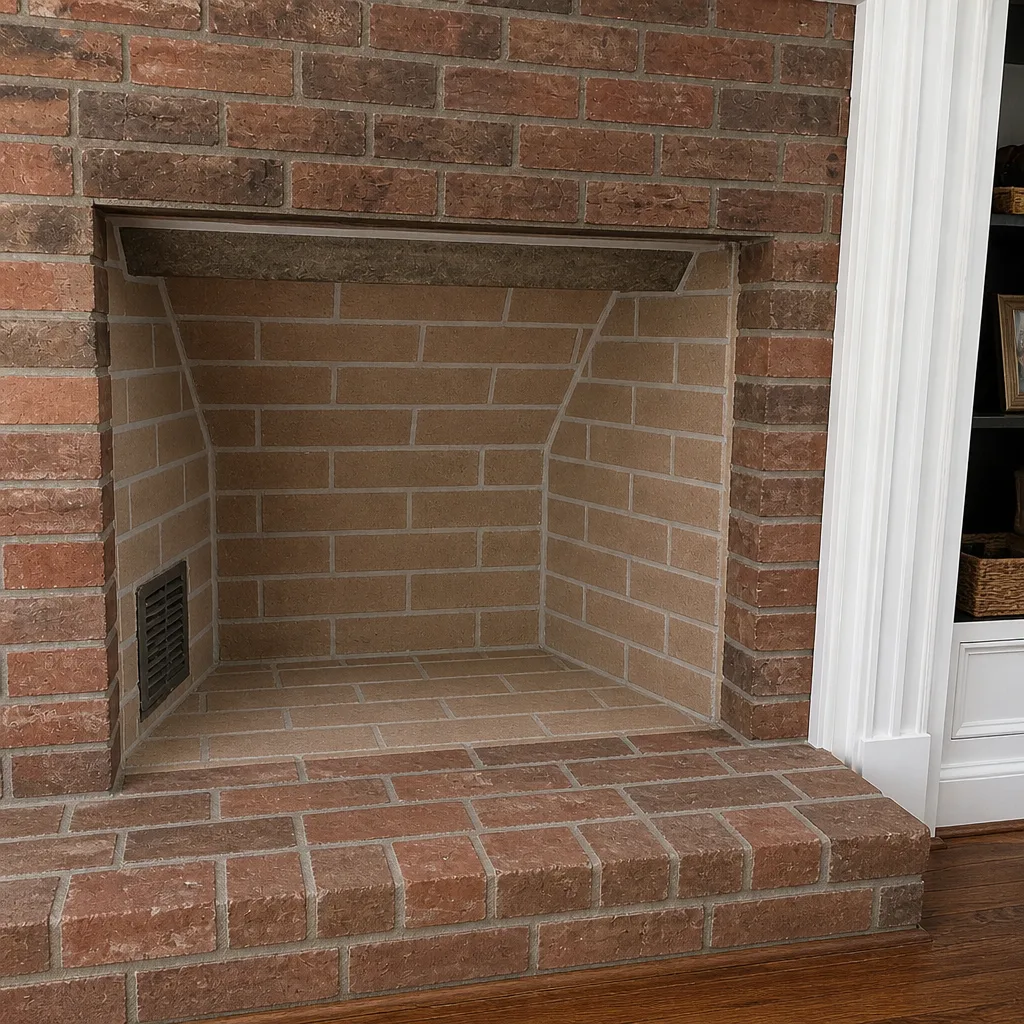
See the difference
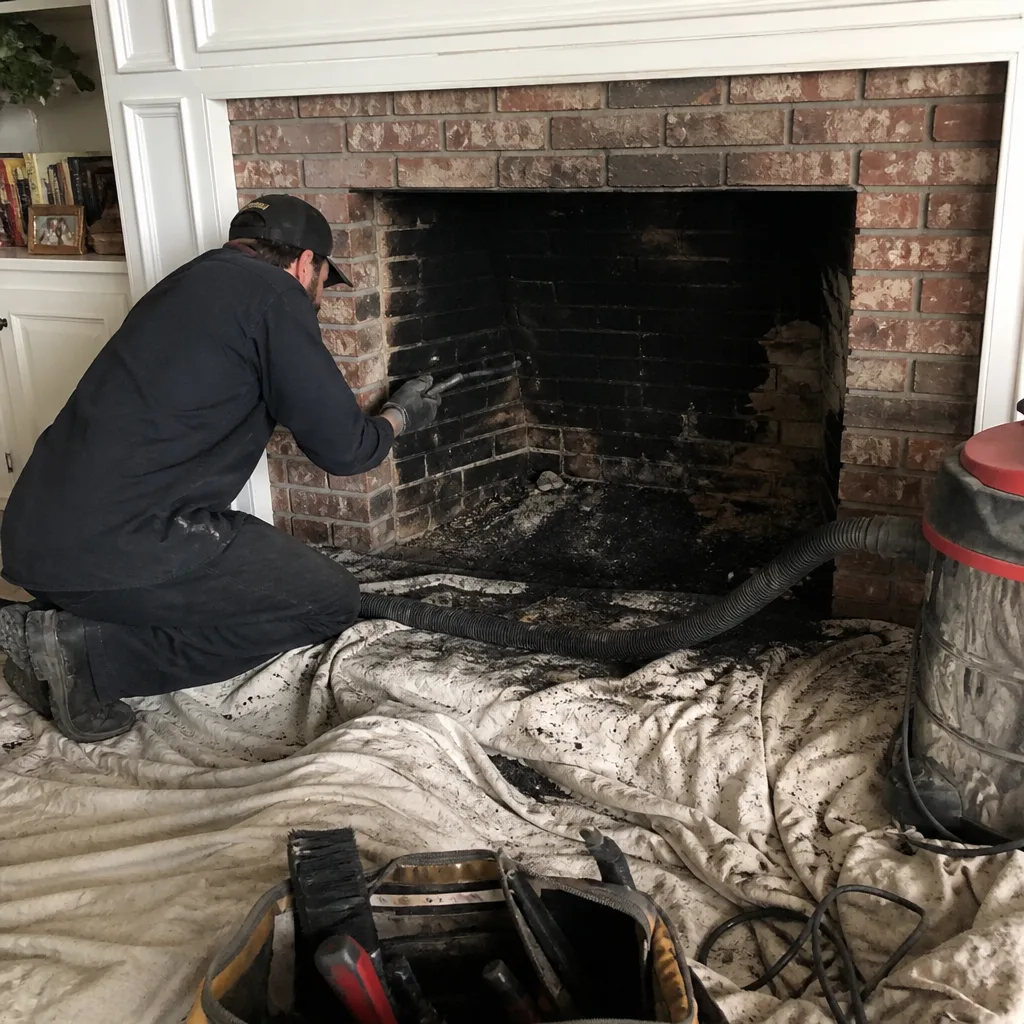 Before
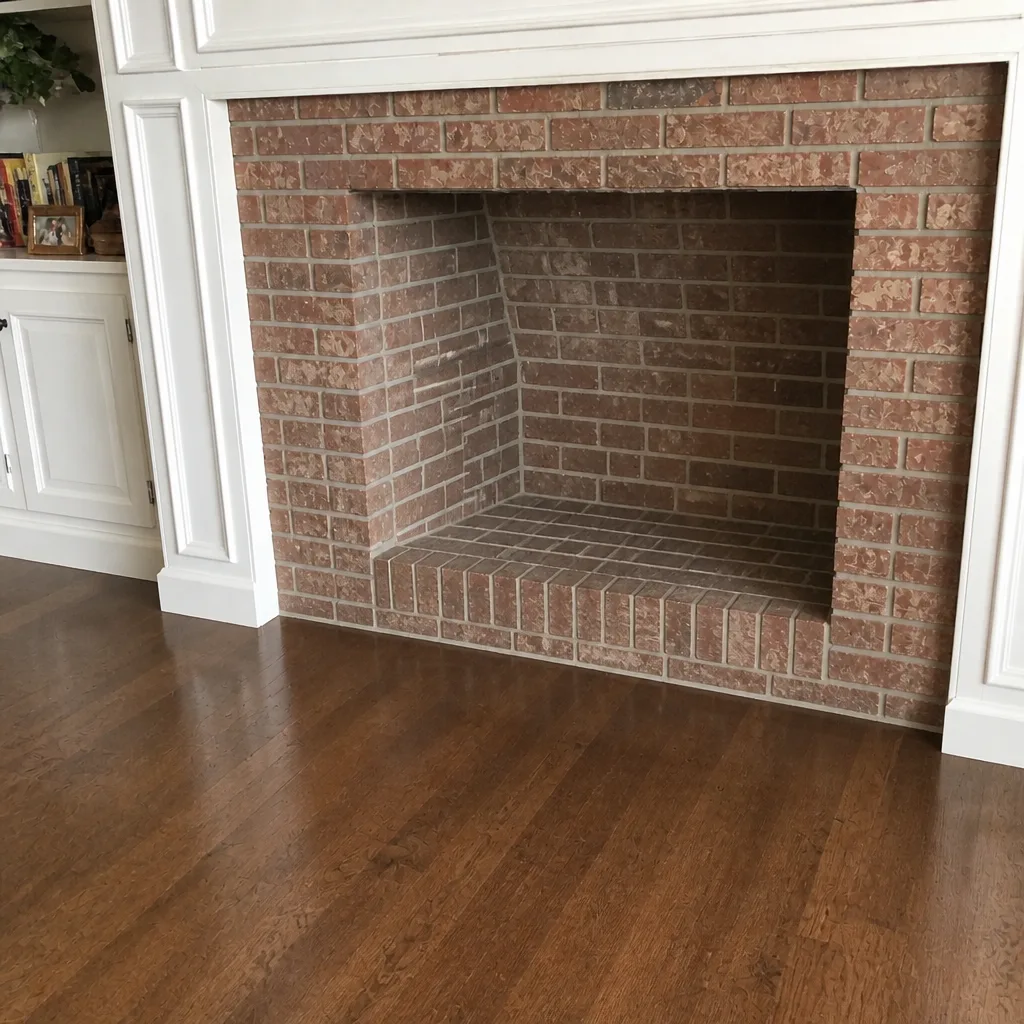 After
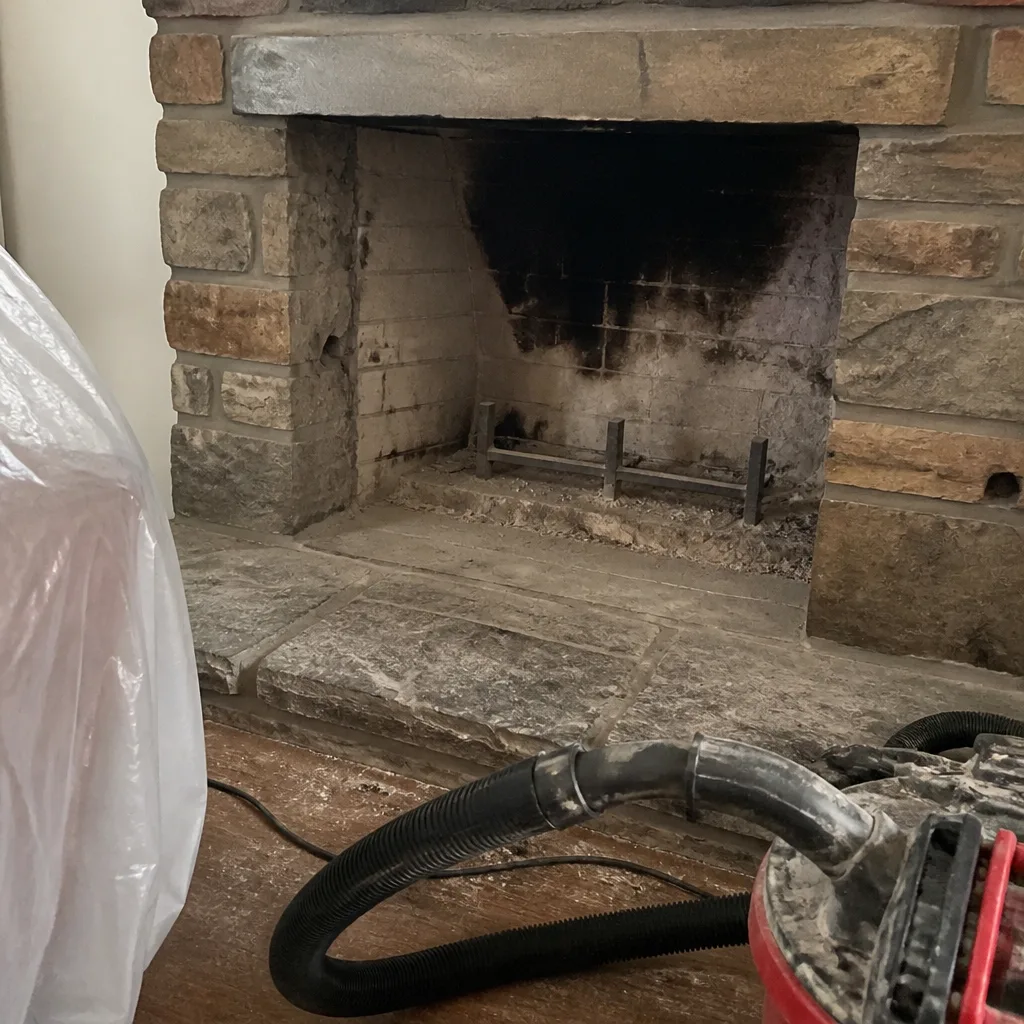 Before
 After
 Before
 After
When to Call a Professional
Some of this checklist is genuinely your work: opening the damper, watching for creosote thickness, photographing the crown, keeping a log. But several tasks belong in trained hands, and it’s worth being clear about which. Call a professional if you see cracks or gaps inside the firebox or liner, if the damper won’t seal, if the crown is cracked or spalling, if you notice a stain near the chimney, if smoke backs into the room, or if you haven’t had the system inspected in the past year. Glazed creosote always warrants a call. High-tension components and open flues are not DIY territory – the safety margin belongs to someone who inspects them regularly. Chimney Sweep University City offers free estimates in University City. Call (855) 658-5324. We answer 24/7. Fast dispatch from 7am to 7pm, Sunday through Friday.
Frequently Asked Questions
Once a year for most homes, and more often if you burn heavily or notice creosote reaching 1/8 inch before the season ends. Annual sweeping plus a Level II inspection covers the standard maintenance cycle. If it’s been more than a year, book a sweep before the next heating season. Call (855) 658-5324 for an exact quote – estimates are free.
You usually need both. A sweep removes creosote; an inspection tells you the condition of the liner, crown, flashing, and firebox. If you’re only booking one, the inspection is the more informative of the two, because it tells you whether a cleaning is even the right next step. Call (855) 658-5324 to schedule both together.
Creosote keeps accumulating, masonry cracks keep widening, and small liner problems grow into replacement-sized ones. The risk isn’t only cost – glazed creosote is a fire hazard, and a blocked flue is a carbon monoxide hazard. A skipped year is the difference between a maintenance visit and a repair. Call (855) 658-5324 to get back on schedule.
Not always. Sometimes a liner can be restored with HeatShield ceramic resurfacing rather than replaced, which is a real option when the structure is sound. The answer depends on what the camera shows, and you should see that footage before deciding. Call (855) 658-5324 for a free estimate on either path.
Because summer moisture is the enemy. A crack repaired in March never gets the chance to take in weeks of humid air and rain. By fall, a small crack can widen and spall the brick faces around it. Spring repairs are cheaper and last longer. Call (855) 658-5324 to book the repair before the wet season.
The annual inspection, because it’s the task that tells you what everything else needs. The cap and spark arrestor check is the most-skipped task, and skipping it is how animals and water get into a flue. Both together are the core of any maintenance routine. Call (855) 658-5324 to schedule yours.
The Bottom Line
A maintenance checklist works when each task tells you what failure looks like. September is for the full walkthrough – damper, crown, flashing, liner, firebox. January is for reading creosote, with 1/8 inch as the threshold that triggers a sweep. March is for masonry, before summer moisture gets in. The cap and spark arrestor are the quiet protectors most homeowners skip, and photographing each component yearly is how you catch slow deterioration while it’s still slow. University City homes deserve a specialist who diagnoses the whole system, not just a brush in the flue.
If you’d rather have a trained set of eyes on all of it, call (855) 658-5324. We answer 24/7. Fast dispatch from 7am to 7pm, Sunday through Friday. Estimates are free, the price is set per job by the written estimate, and nothing is recommended without evidence you can see for yourself. Whether it’s a routine Chimney Sweep University City visit or a repair the inspection turns up, one call covers diagnostics through completion.
Written by the team at Chimney Sweep University City.